Light 1.0
Pads and songs
The pad grid, songs, columns, layers, pads, the dials row and the groups row, control by control.
The grid is where a show is played. The Pads view (⌥1) shows all four layers. The Build view (⌥4) shows one layer at a time above the look editor.
Songs
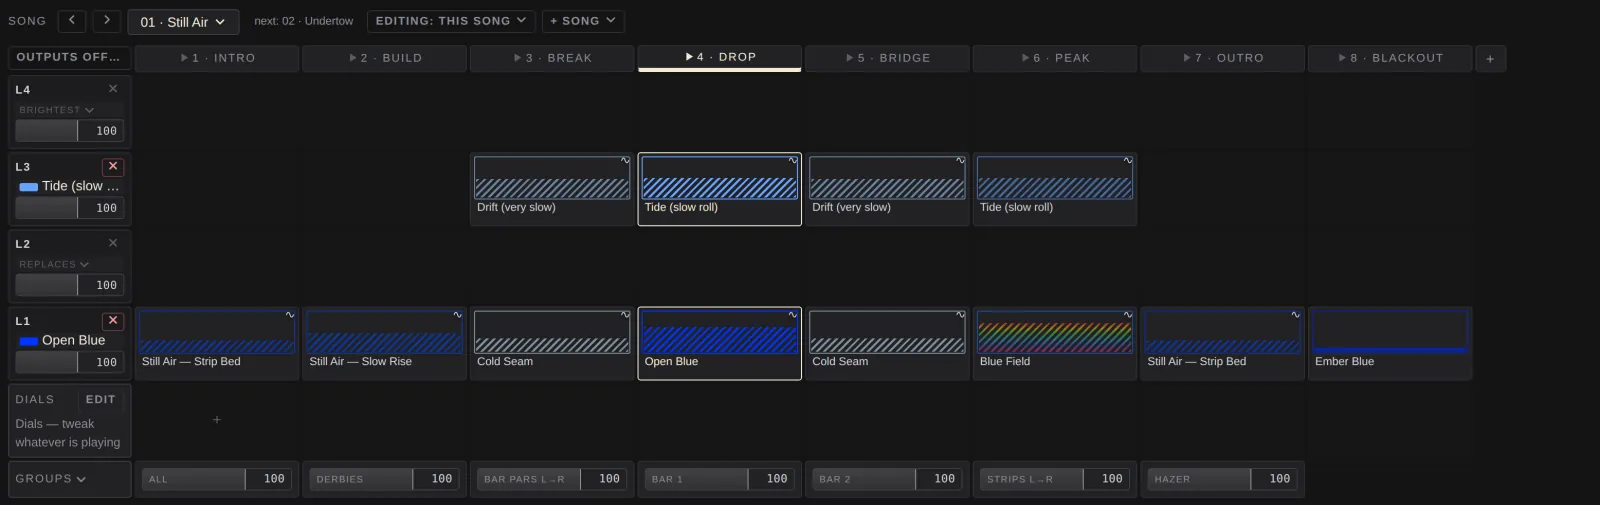
A song is one page of pads: the same layers and columns, different looks. The songs bar sits above the column heads.
Previous and next song
‹ and ›, or [ and ] on the keyboard. They stop at the first and last song; they don't wrap round. Changing song swaps the pads on the grid, but what is lit stays lit until you fire something in the new song. Flash pads that were being held are released.
Song chip
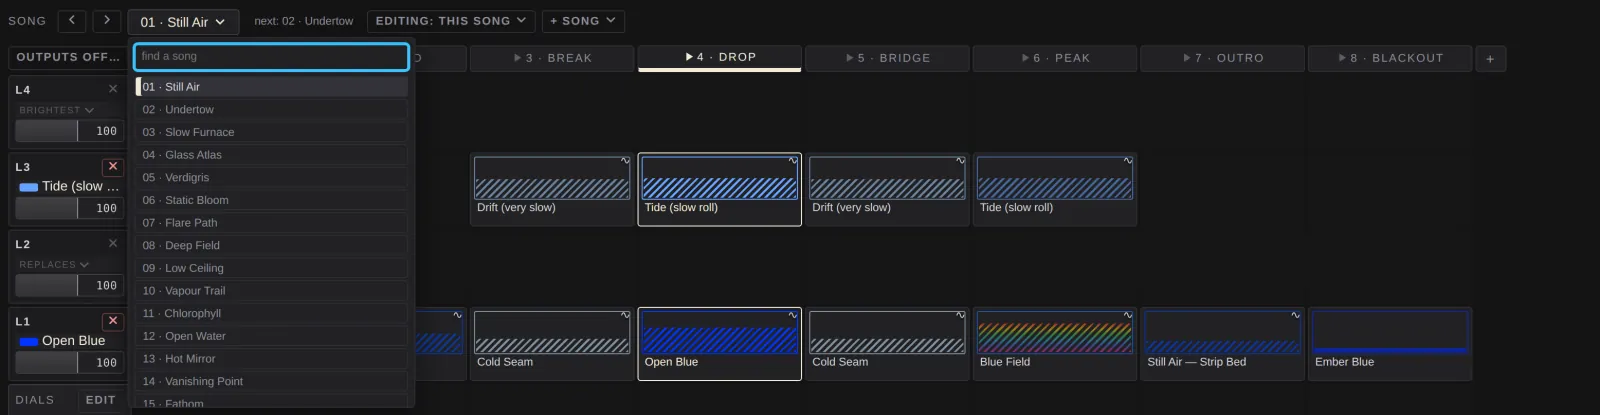
NN · Name ▾ shows the song that is playing. Click it for the set list, with a find a song field at the top, and pick a song to switch to it.
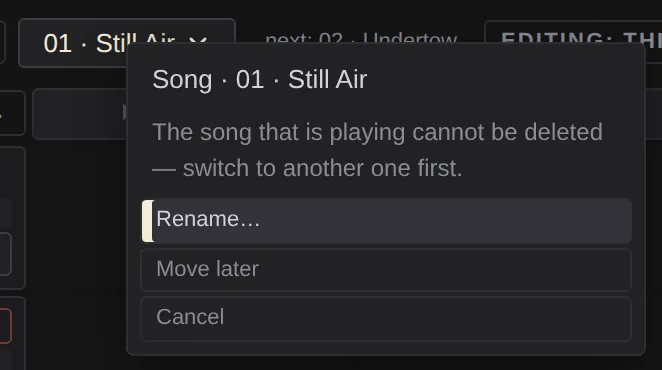
Right-click the chip (on a touch screen, press and hold) for Rename…, Move earlier, Move later and Delete song. You can't delete the song that is playing: switch to another first.
Next
next: NN · Name is the song that ] goes to.
Editing another song
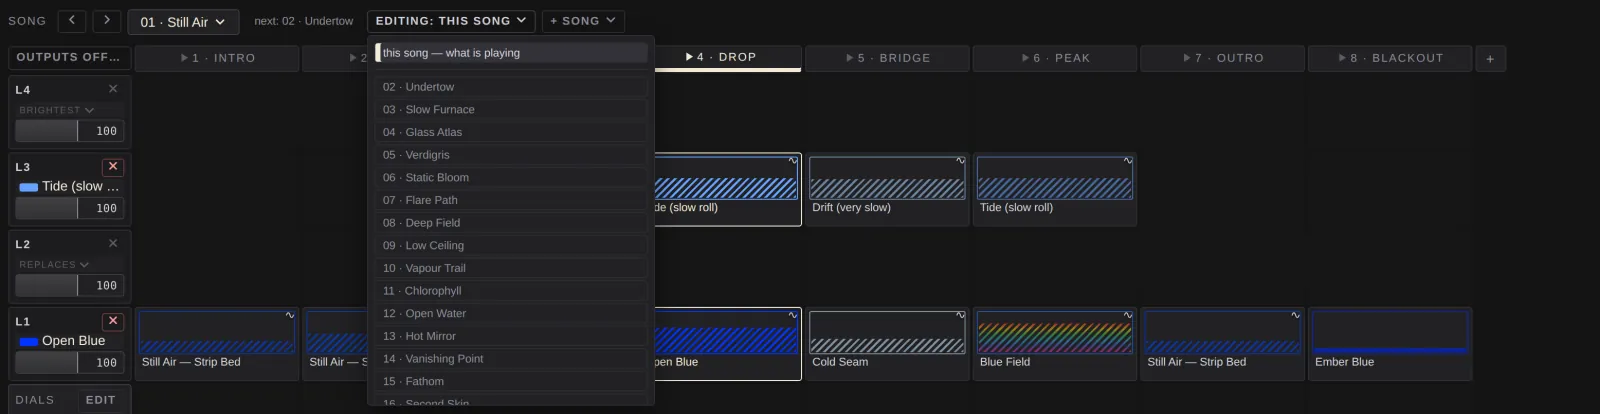
editing: this song ▾ lets you build another song's pads without touching the one that is playing. Pick a song and the grid shows its pads. The button turns amber and reads editing: song name. On that page, clicking a pad's body does nothing, and the number keys and column heads only select. The look editor still works. Press Esc, or pick this song again, to go back.
Add a song
+ song adds an empty song called Song N with the same columns and no pads. If nothing is playing, the grid moves to it. If something is, the song is added and waits, and a notice offers to switch.
Columns
Columns are the sections of a song. The column heads run along the top of the grid.
Column head
Click a column head, or press its number (1 to 9), to fire it as a cue. Every layer plays its pad in that column:
- a layer with a look in that column fires it
- a layer with an empty pad in that column is cleared, so a column with no pads at all, marked ■, is a blackout column
- flash looks are left alone; they only play while held
The column that is playing is underlined, and a bar shows its crossfade running. Resolume's column numbers map straight onto these; a column number the show doesn't have is ignored rather than clearing everything.
On a page that shows another song, the number keys select a column instead of firing it.
Column menu
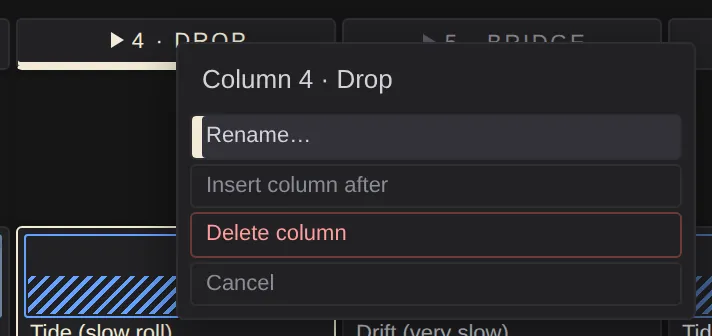
Right-click a column head (press and hold on a touch screen) for Rename…, Insert column after and Delete column.
Add a column
+ after the last column head adds a column to this song.
Layers
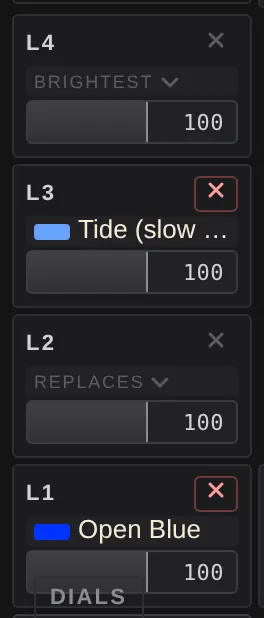
Layers are the rows. Each plays one pad at a time. L4 is on top of L3, and so on down to L1. What each layer does to the ones underneath is set by its blend.
Layer name and blend
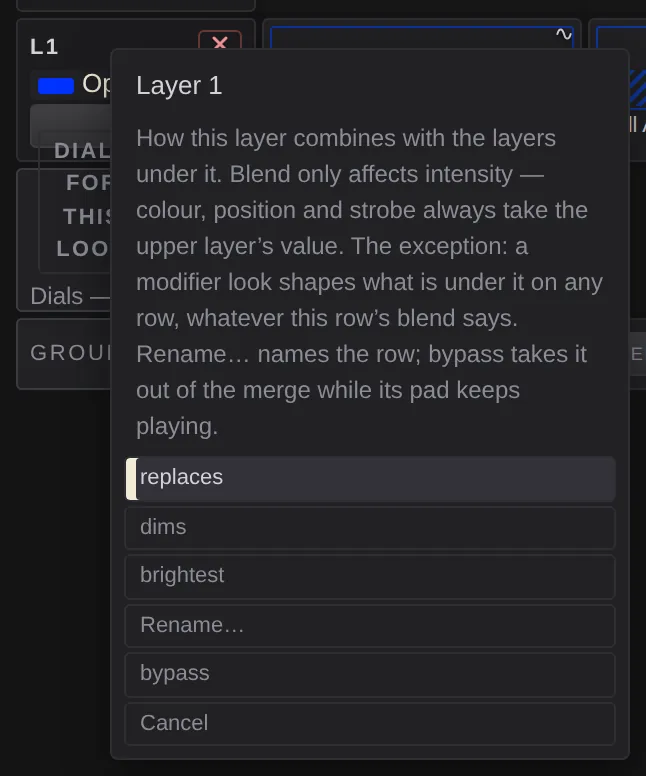
Click the layer's name (press and hold on a touch screen) to choose:
- replaces: this layer replaces what is under it. New shows use this on L1 and L2.
- dims: scales what is under it down; it can only take light away. L3 in a new show.
- brightest: the brighter of this layer and what is under it wins; it can only add light. L4 in a new show.
- Rename…
- bypass takes the layer out of the mix while its pad keeps playing. bring back returns it. A bypassed layer shows in the held chip.
Blend affects intensity only. Colour, position and strobe always come from the upper layer. The exception is a modifier look (see Looks), which shapes whatever is under it on any layer.
On a locked screen, only bypass is offered.
Stop a layer
The ✕ on the layer's head stops that layer, fading out over the layer's fade. On a touch screen, hold it until the ring fills.
Now playing
The line under the name shows what the layer is playing, with a swatch of its colour. Click it to select that pad. For ten seconds after a layer is stopped or replaced, it offers was look name ◀ to put the previous look back.
Layer master
The fader on each layer's head scales that layer's intensity, 0 to 100.
Pads
Each pad shows its look's name and a small picture of what it does: its colour, and a wave line if it has effects.
Fire a pad
Click the body of the pad. The layer crossfades to it over the look's fade (scaled by the fade master). A flash look plays only while you hold the pad down.
Clicking an empty pad selects it, so you can make a look there. The layer keeps playing.
Select without firing
Click the name strip along the bottom of a pad. The look opens in the editor and nothing changes on stage. Esc deselects.
Move or swap pads
Drag a pad by its name strip onto another pad. The two swap. In the Build view, drop a pad on a layer tab (L1 to L4) to move it to that layer.
Pad menu
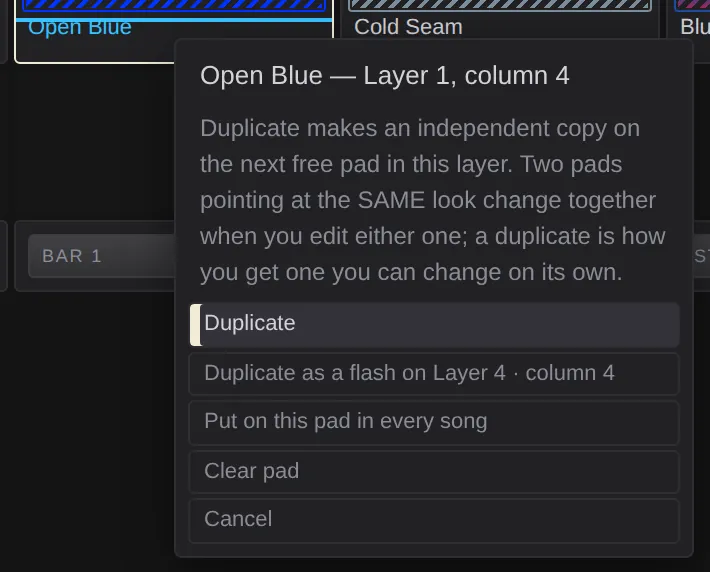
Right-click the name strip (press and hold on a touch screen):
- Duplicate: an independent copy of the look on the next free pad in this layer. Two pads showing the same look change together; a duplicate is how you get one you can change on its own.
- Duplicate as a flash on layer · column: a flash copy on the top layer.
- Put on this pad in every song: the same look in this position on every song.
- Clear pad: empties the pad. The look stays in the library.
Pad states
- Lit: the pad its layer is playing.
- Amber: its column is playing, but an older look is still on stage from before an edit. Fire the pad to swap.
- place here: shown on empty pads while a library look is armed. See Placing looks.
- Learn tag: in MIDI learn, each pad shows what it is mapped to.
Grid chip
The chip at the top-left corner of the grid says what needs doing next, and does it when clicked:
| It reads | Click it to |
|---|---|
| no rig yet → | open the Rig view |
| outputs off → | open Settings ▸ Output |
| go live ▸ | go live |
| release hold | release freeze |
| latched · E | turn the edit latch off (see below) |
| editing NN · Esc | go back to the playing song |
| click a target… / move a control… | (MIDI learn is armed) |
Edit latch
Press E, or edit on a touch screen's bottom bar. Clicking a pad now only selects it and never fires, so you can edit a show without lighting the room. On a touch screen the whole pad becomes the select target and a hold opens its menu. The latch turns itself off on ALL STOP, a song change, leaving the Pads view, or after 30 seconds untouched.
Dials row
Under the layers, eight dial slots: the same five-by-eight layout as an APC40 mk2's clip grid, so what you see matches the controller. A dial is one fader that moves many parameters at once. They are built on the Controls tab.
- dials for this look puts the selected look's first eight parameters on dials.
- edit opens the Controls tab.
- + on the next free slot adds a new dial, Control N.
- ⚠ marks a dial whose links reach nothing any more.
- knob N shows which controller knob moves it. A warning shows if only some of the knob's banks are mapped.
Moving a dial is a nudge.
Groups row
A level fader for each fixture group, 0 to 100. Pulling one down dims every fixture in that group, whatever the looks ask for. Where a fixture is in several groups, the lowest level wins. Group levels aren't saved with the show.

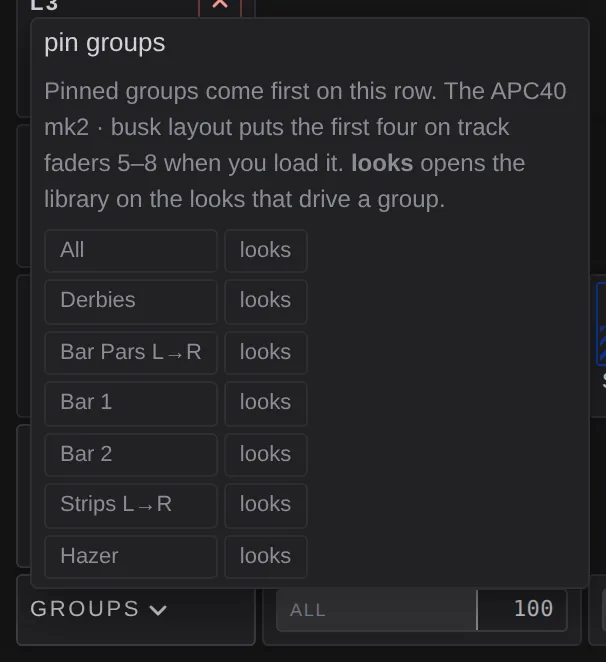
Groups ▾
Chooses which groups come first on the row. The APC40 mk2 · busk layout puts the first four on track faders 5 to 8 when you load it. looks next to a group opens the library on the looks that use it.
All up
all up appears when any group is below full, and puts them all back.
Touch screens
A tablet shows the ordinary grid, with bigger targets. A phone (a touch screen narrower than 900 pixels) shows four columns at a time, with page buttons to move across. See Run it from a tablet or phone.